
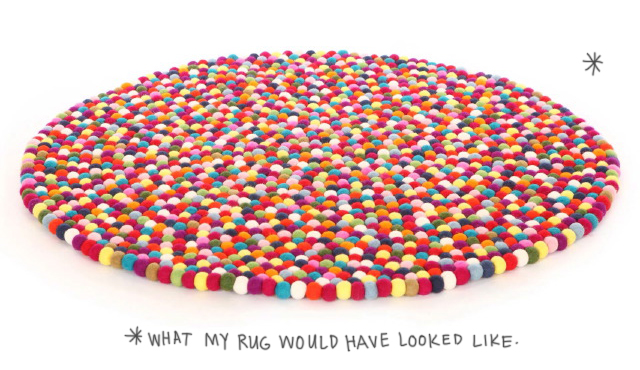
A few months ago I decided I wanted to make a rug out of felt balls for the nursery, after seeing one in a shop window. I researched how to make one and found very few tutorials, as it seemed to be a pretty enormous undertaking that few people had attempted. The rugs in stores all seem to have been either made exclusively by women in small workshops in Nepal, or at the very least, the felt balls were made in Nepal and then fastened together in Australia.

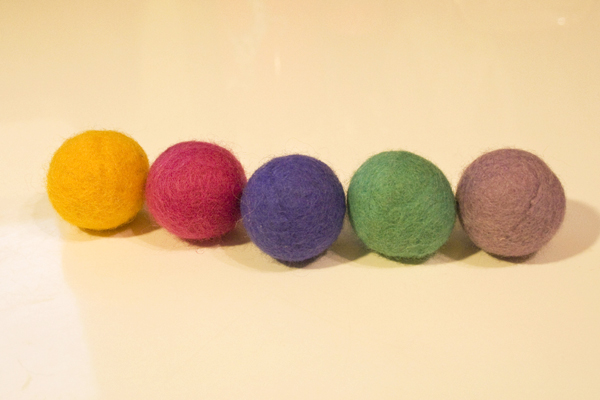
I decided I wanted to make mine from scratch and started rolling felt balls that would eventually be stitched together into a round shape. I knew it would take me a long time, but I figured, what the hey, I'm pregnant and about to finish work, I have loads of time on my hands! Each ball took me about five to ten minutes to roll and I would sit and roll them while I watched a lot of Twin Peaks. It was pretty fun but really gave my hands a work out and all that dish soap made my hands so dry - not to mention - wool roving is not very pleasantly scented! I would lay all of my balls out in front of me and Atticus would sneakily come along and bat them all off the table and onto the floor and then start ripping into them. Cheek! I ended up making one for him to play with.
The wool roving to make the balls was costing me a small fortune (I found some places that sell locally for about $7 for a 100g bag - each bag would make about 20 balls) and when I researched a bit, trying to find competitive prices for the wool roving, I found that buying the wool was more expensive than buying the balls pre-made (from Nepal). Then, when I compared the price of buying the pre-made felt balls with actually buying a rug completely made, well.... buying a rug was less expensive again.
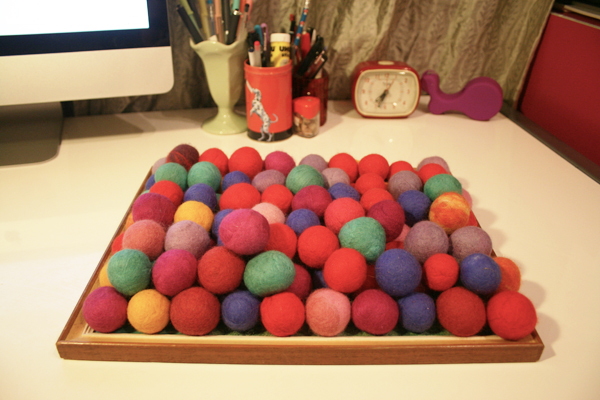
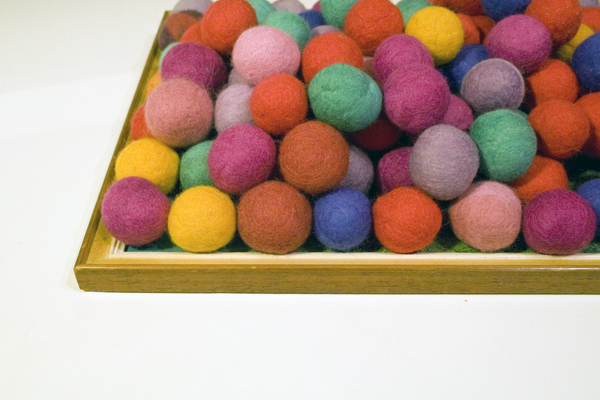
After a few weeks of nightly felt ball rolling, I laid out my balls and saw I had about enough for a 50cm rug (sounds big, looks small). I did some calculations as to how many more I'd need for the 1m rug I was planning and realised I was a bit out of my depth (and would never get enough made before the baby is born!). Wanna see my working out? No? I'll show you anyway!
- Total rug area (100cm in diameter) : π x r2 = π x 50cm2 = 7854cm² (to nearest cm)
- Each individual ball (3cm in diameter) : π x r2 = π x 1.5cm2 = 7cm² (to nearest cm)
- Divide the total rug area by the individual ball area = 1122 balls (approx. not taking into account the small spaces between the balls).
(Take that grade 12 general maths!)I realised I could continue to roll my own balls, spending a fortune, buy them pre-made in bulk online (still fairly expensive) or just buy a rug outright.
So, I gave up. This has been a very long post to tell you I didn't make a rug. Haha.
I would really like to buy a rug and I have spotted some 1m rainbow ones on Etsy for around $200 including postage, but I'm hesitant to make such a splurge (even though I know how much time and effort goes into these things and it would totally be worth it!).
At the very least, this was an exercise in the nature of craft - often it is far more expensive and takes a lot more time and effort to make things yourself. Sometimes, those things will be really amazing and worth the time, effort and money and become something that you feel proud of and might one day pass on - and other times the task you've set yourself is too big an undertaking and you should support some crafty Nepalese women instead.
So, what to do with my 150 felt balls? Here are some ideas I toyed with:
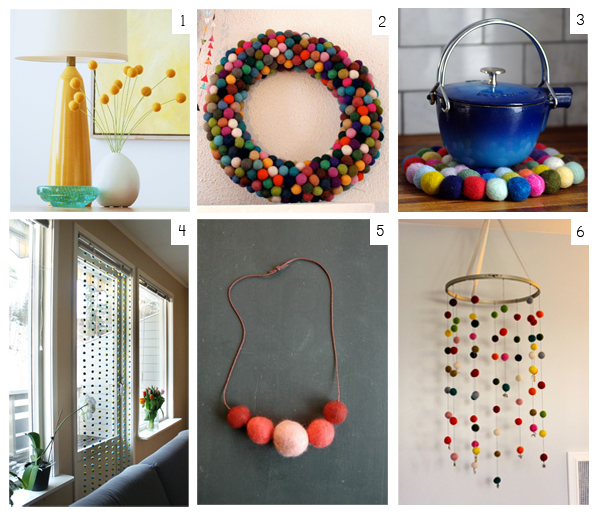
1. Felt Craspedia 2. Christmas Wreath 3. Felt Ball Trivet 4. Felted Window Drapes 5. Felt Ball Necklace 6. Felt Ball Mobile
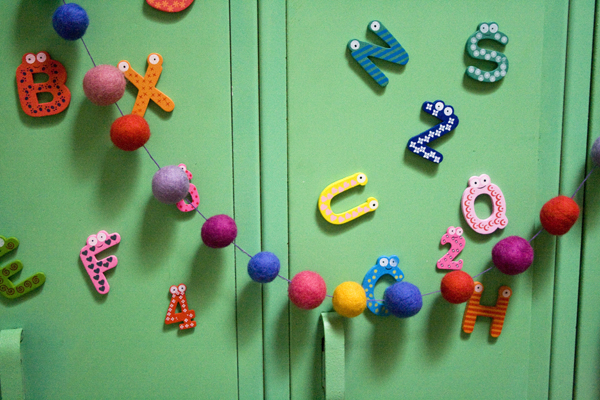
I've been feeling a bit indecisive so I decided to make a garland with them - that way if I somehow come into possession of another 900 balls to make the rug, or think up some other use, I can unthread them and use them again. I just used a large darning needle and some coloured embroidery thread. You can move the balls up and down the thread and there isn't too much movement when they're hung. Here's my garland (using about a third of the balls I made), hung up in a temporary spot:

Please do make me feel better about being a quitter by sharing an anecdote about something you got part way through and never finished! :D
Ps. Every time I see felt balls I think about Bob from Twin Peaks. Creeeepy.