
(via)
Well folks, this is my small contribution to V-Day. I've never really celebrated it and generally don't care much for it, regardless of being in a relationship or not, but these cakes are too good not to share, and being red, very sweet and heart shaped I suppose they can't not be associated with Valentines Day!
I saw this recipe on Whisk-Kid, which is the only food blog that I follow. Her photographs are incredible, her recipes are easy to make and I just enjoy the way she writes. These were so easy to make and were delicious. The silicon cupcake liners I bought yesterday from Aldi for $3 for 6. Sweet little things. I'd never made vegan cupcakes before and now I can't wait for our vegan friend Ash to come stay so I can make him eat 'em! Here's the recipe (with some slight alterations I made);
Vegan Crimson Velveteen Cupcakes originally from the book Vegan Cupcakes Take Over the World
♡ 1 cup soy milk
♡ 1 tsp apple cider vinegar
♡ 1 1/4 cup flour
♡ 1 cup sugar
♡ 2 tbls cocoa
♡ 1/2 tsp baking powder
♡ 1/2 tsp baking soda
♡ 1/2 tsp salt
♡ 1/3 cup canola oil
♡ 2 tbls red food coloring liquid (I thought 2tbls was a lot, though I still followed the recipe and felt like it made the batter taste like food dye, next time I'd only use one tbls)
♡ 2 tsp vanilla extract
♡ 1/4 tsp almond extract
♡ 1 tsp chocolate extract
Preheat oven to 350F/180C and line a cupcake tin.
In a medium-sized bowl, combine the soy milk and vinegar and set aside to curdle (this is to imitate buttermilk. It is an important step because the vinegar gives the baking soda something with which it can react!)
In another bowl, mix together the flour, sugar, cocoa, baking powder, baking soda and salt. Set aside.
Add the oil, food coloring and extracts to the curdled soy milk and whisk well to combine. Sift the dry ingredients into the wet and fold to combine, mixing just until large lumps disappear.
Pour into liners and bake 18-20 minutes. Cupcakes should be springy to touch. Allow to cool completely before icing.
Makes 1 dozen.
Vegan Cream Cheese Frosting from Vegan Cupcakes Take Over the World
♡ 1/4 c margarine, softened
♡ 1/4 c vegan cream cheese, softened
♡ 2 c powdered sugar
♡ 1 tsp vanilla (I added a quarter teaspoon of almond essence too and it was great)
Cream together the margarine and cream cheese just until combined. Sift in the powdered sugar in half-cup batches, whipping thoroughly combined after each addition. Add the vanilla and whip until light and fluffy. Frost cupcakes. Keep in airtight container out of sunlight. Devour!
Again, original recipe posted at Whisk-Kid, all credit to her loveliness! Obviously, I don't have the photographing prowess of this lady, but I reckon the cakes are probably just as delish.

^ This is what the batter looked like after everything was mixed in. C said it looked like congealed blood.

^ These are the silicon cupcake liners I bought. They held their shape pretty well.

^ After I filled 'em up.

^ Fresh outta the oven. I was sceptical about how they'd turned out, but after icing they were grand.

^ The delicious icing. It was hard to keep my fingers out of that bowl.

^ Freshly frosted.

^ Trying to get a shot that does them justice.

^ I'm pretty sure I need a lightbox and a Canon EOS just for photographing cupcakes.


^ And so on and so on.

^ Currently in my Bart Simpson lunch box from high school in my fridge as it's 36°C/96.8°F today! Ick!
When I was in my last year of high school any one who was in the SRC (Student Representative Council) had to help out on Valentines Day - we had stalls the whole week beforehand and for about $5 you could buy ONE rose for your valentine (or like $20 for 5, good rates huh?) and we'd specially deliver it to them on V-day. As well as this, for varying prices you could buy a card that we'd deliver or... *shudders* ...a singing telegram for $8. Well, being school captain certainly had its perks, but it had some major downfalls, like... having to knock on classroom doors and sing 'At Last' a Capella to about a dozen different people in front of whole classrooms. Ha! As well as this, the day/night prior and all day V-day there was de-thorning roses, wrapping and delivering roses and writing hundreds of Valentines cards out for people! And, after all of this I got home to my boyfriend at the time who had slept all day and hadn't remembered it was Valentines Day and I even bought him a gift! Boo!
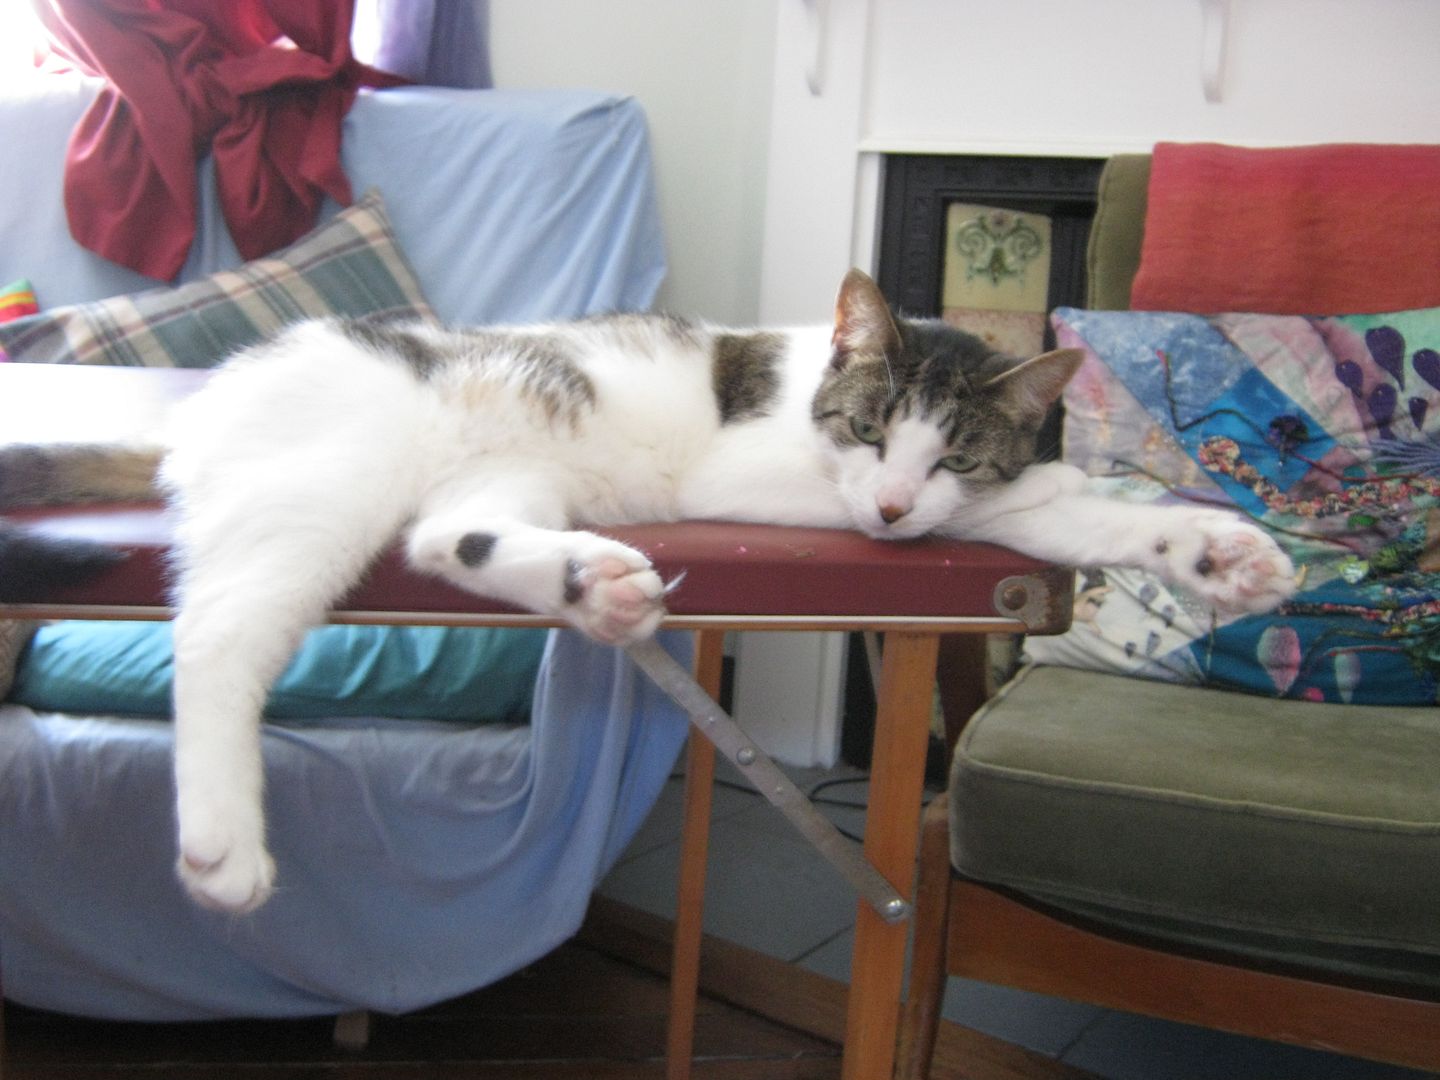
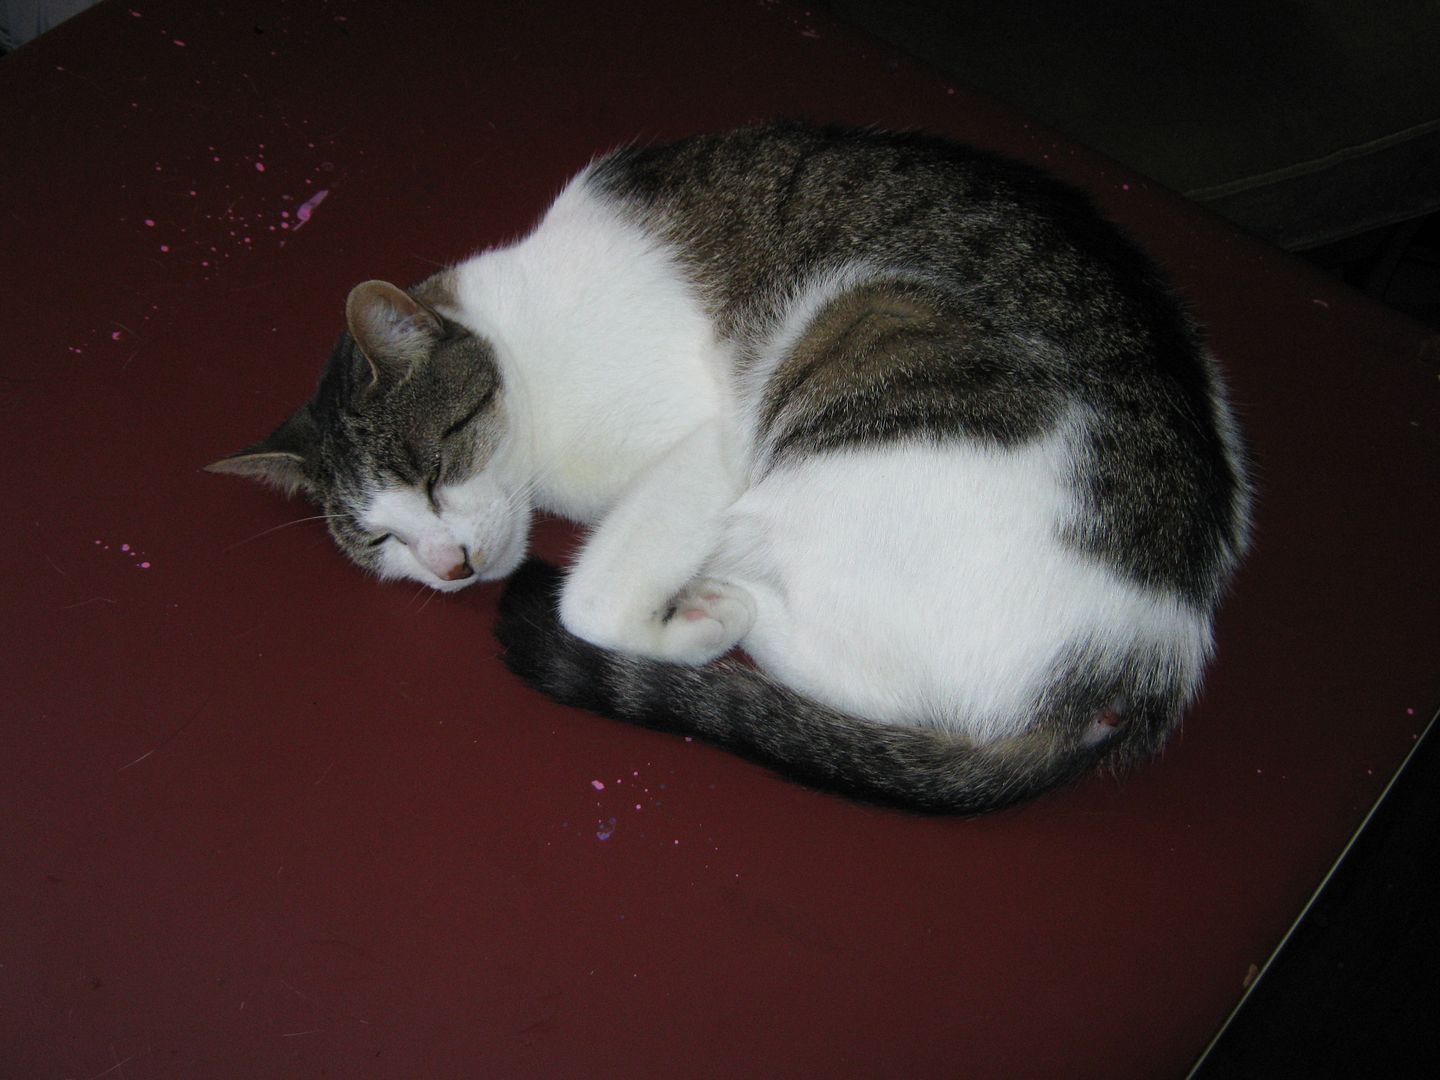
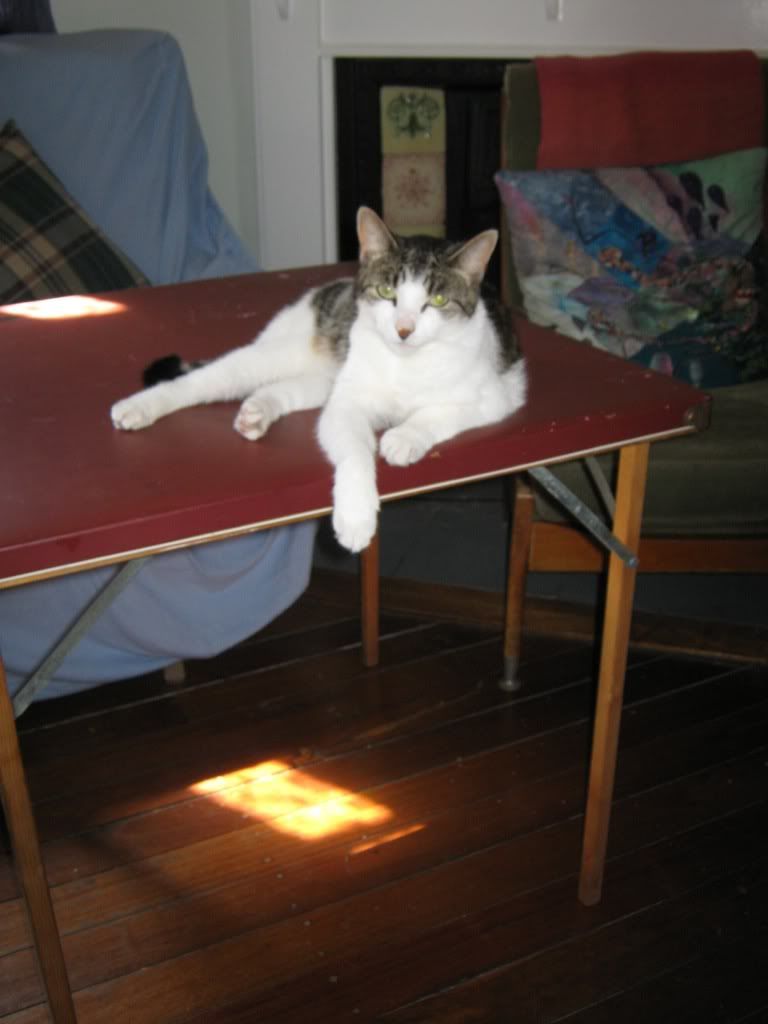
Also, just in case you were wondering what my cats are up to today - they're melting! That's what C calls what they do on hot days when their bodies spread out as far as they possibly can. I pretty much feel like doing the same thing today;

^ Mesca (do ignore the dirty floor).

^ Rigby (this one is the other one's daughter, and after a year living with the two of them I have recently learned to tell them apart).


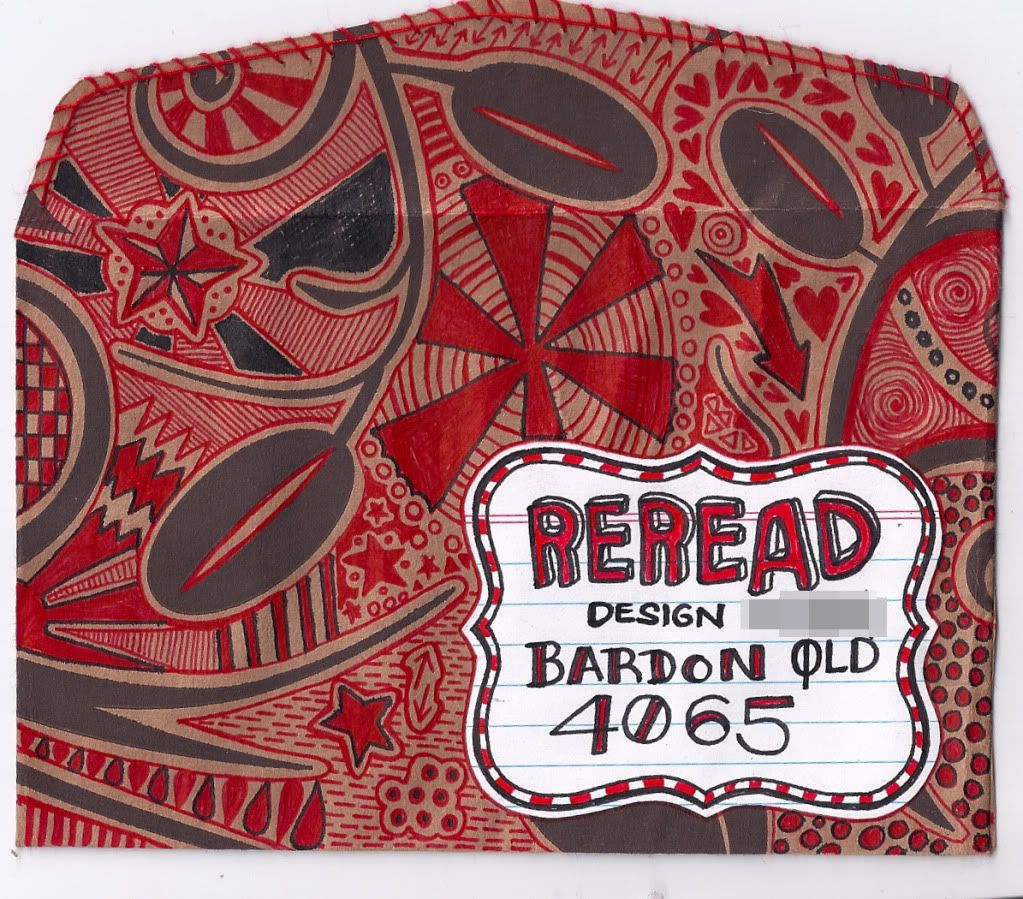
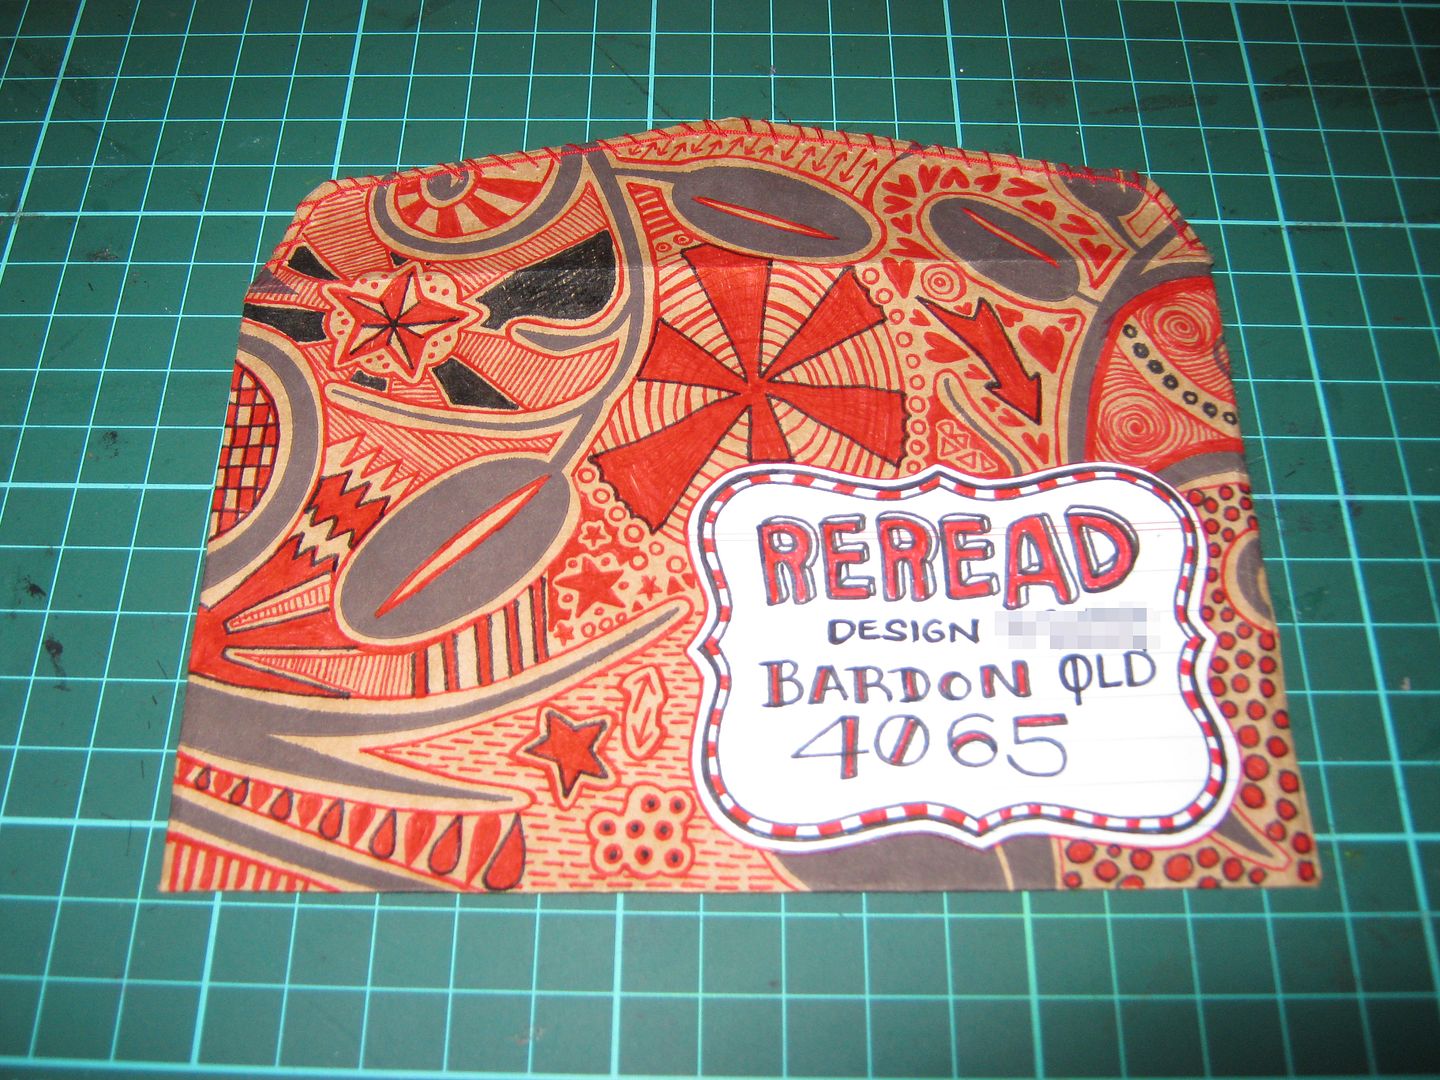
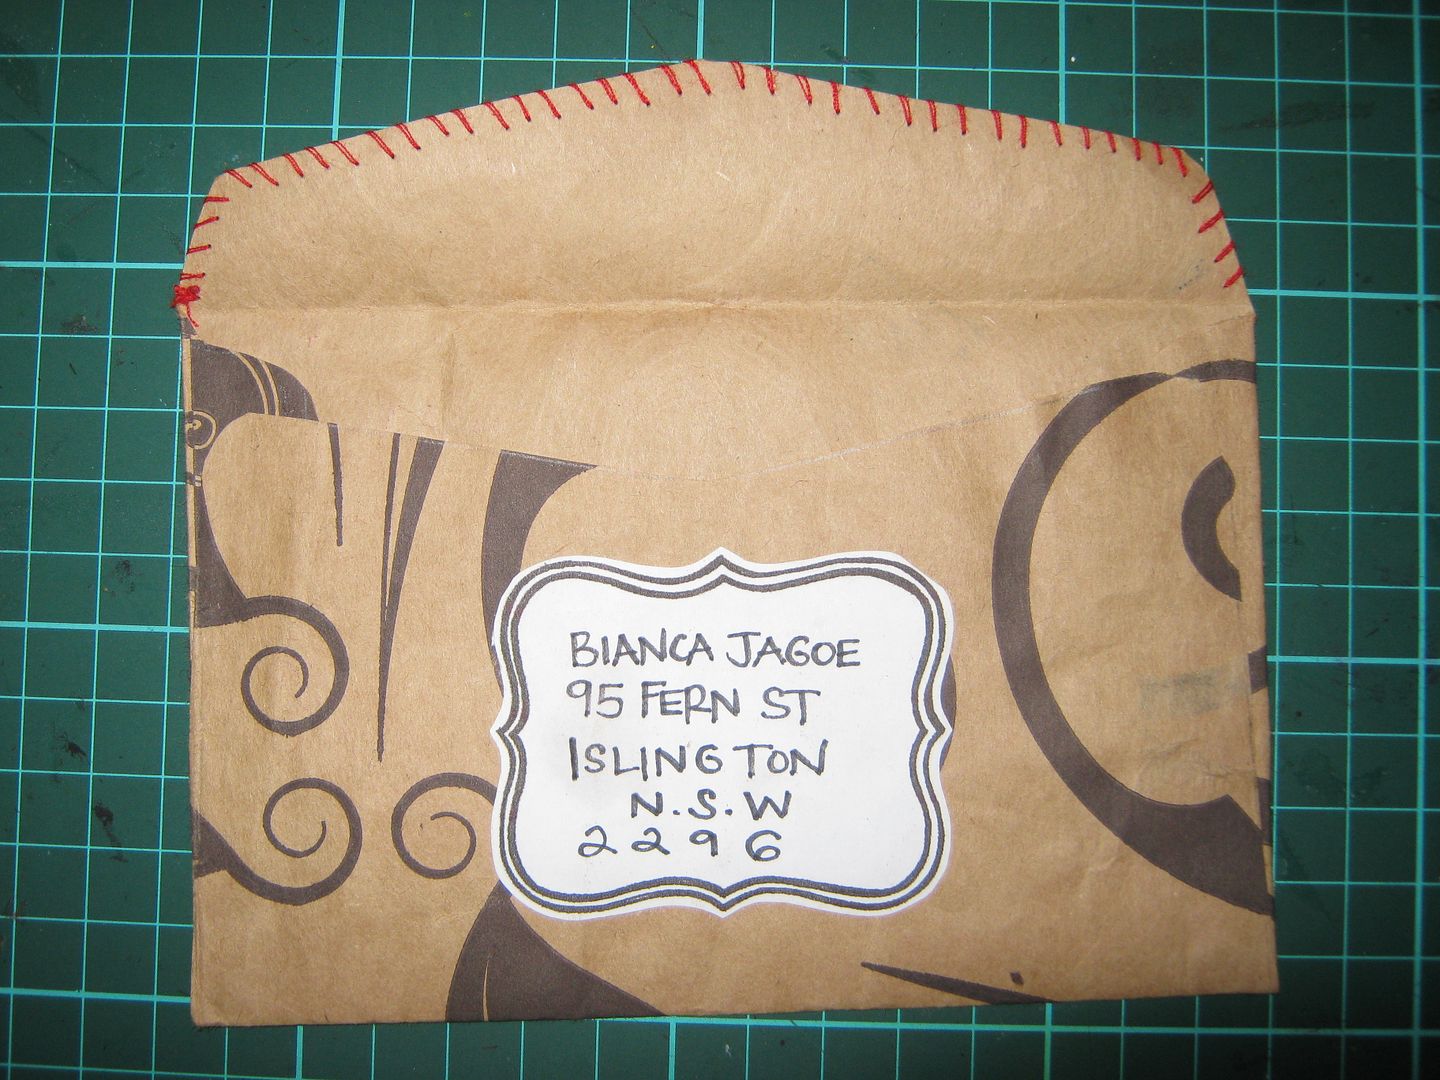
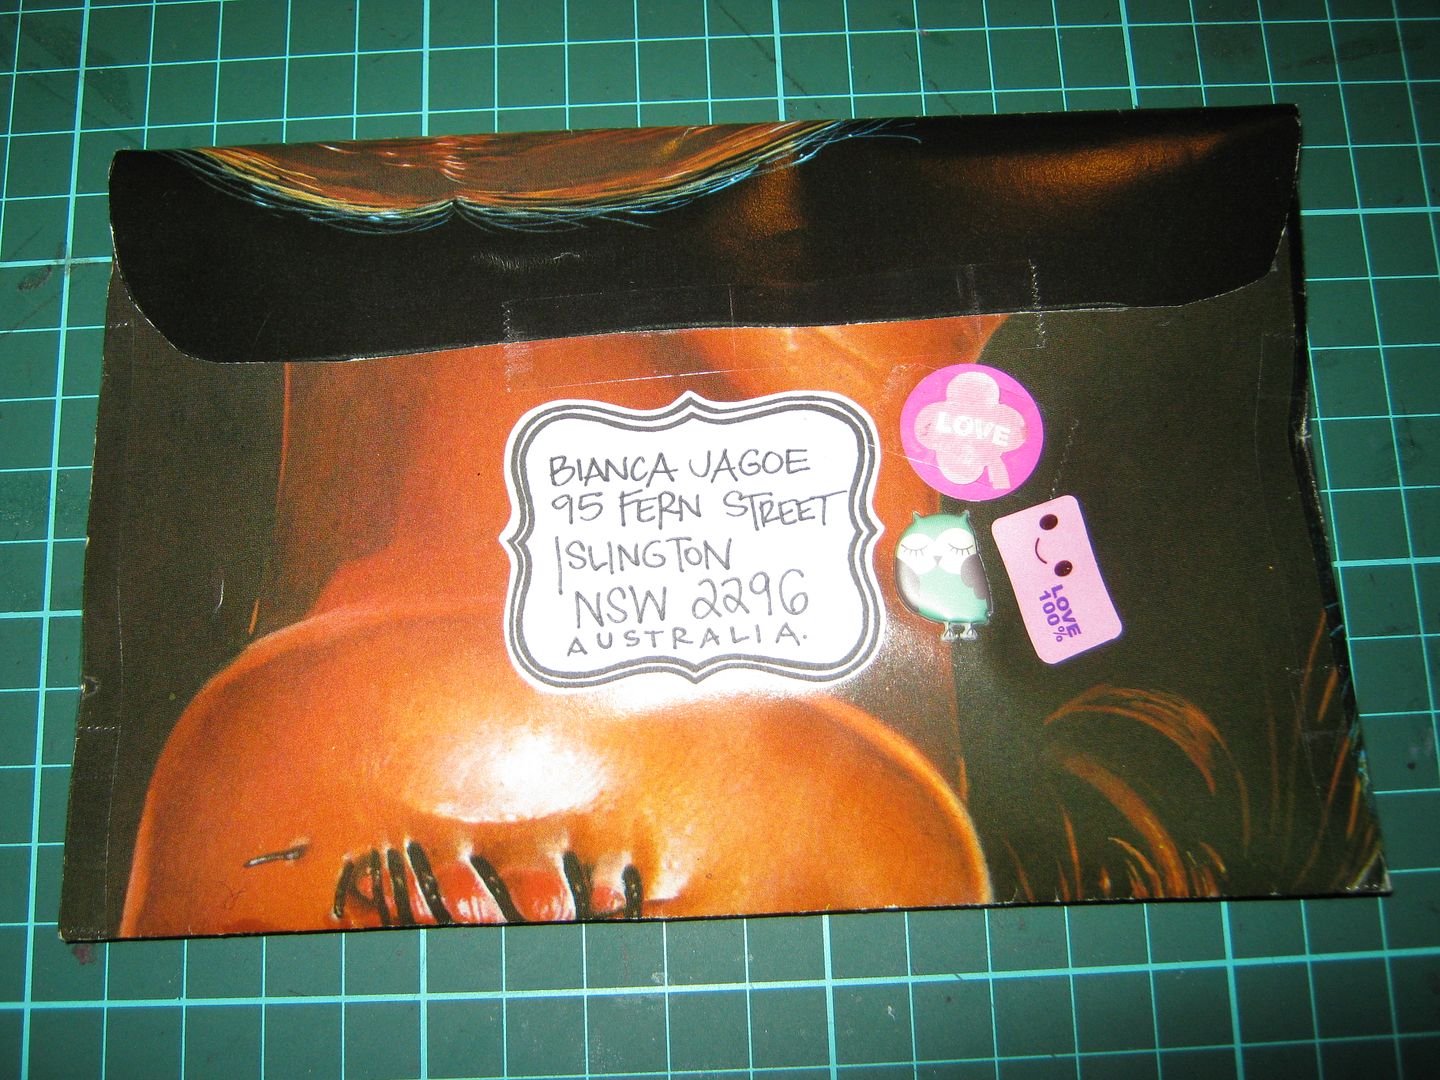
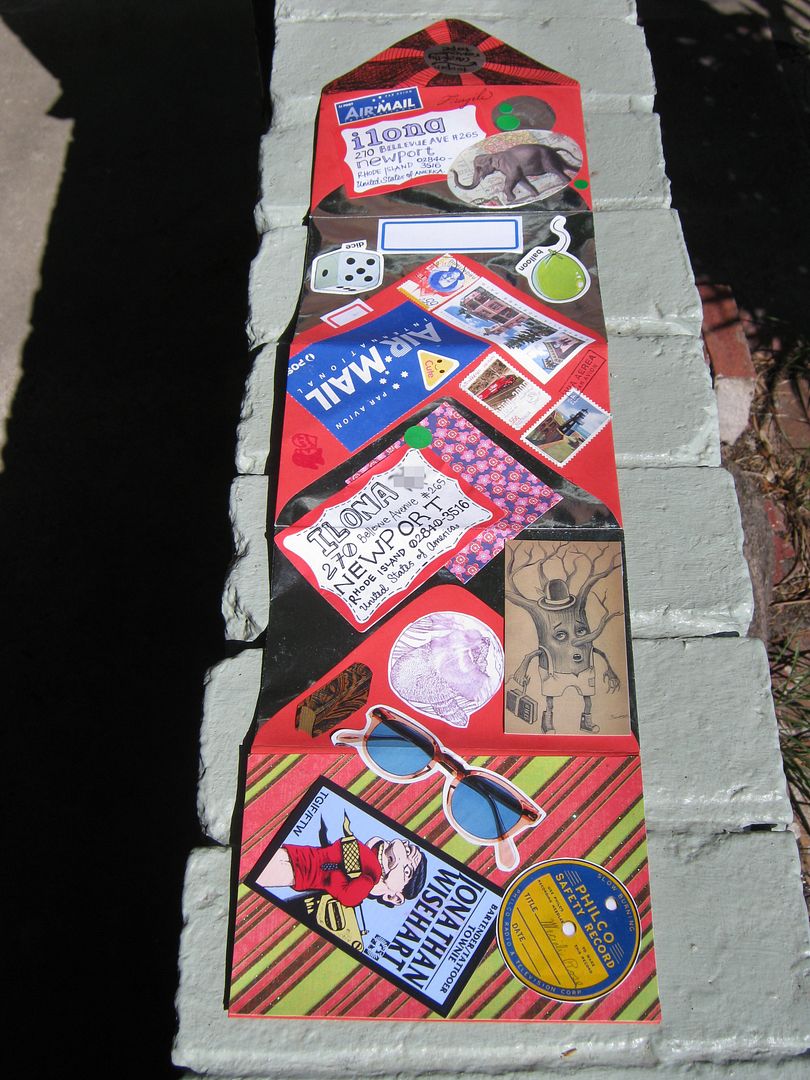
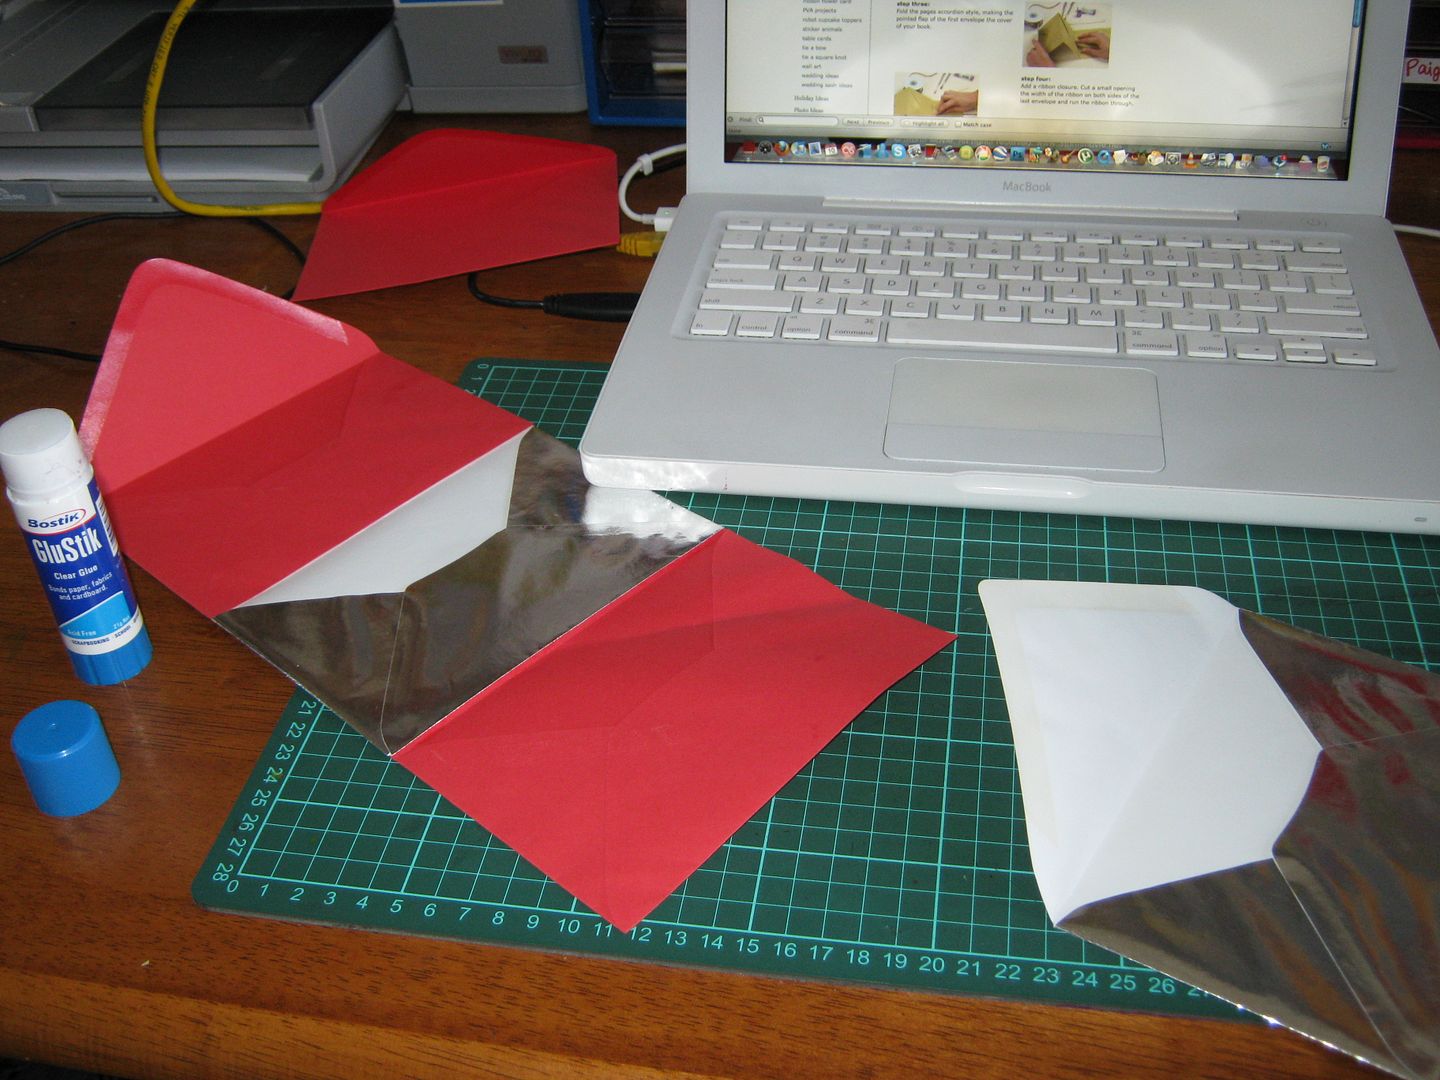
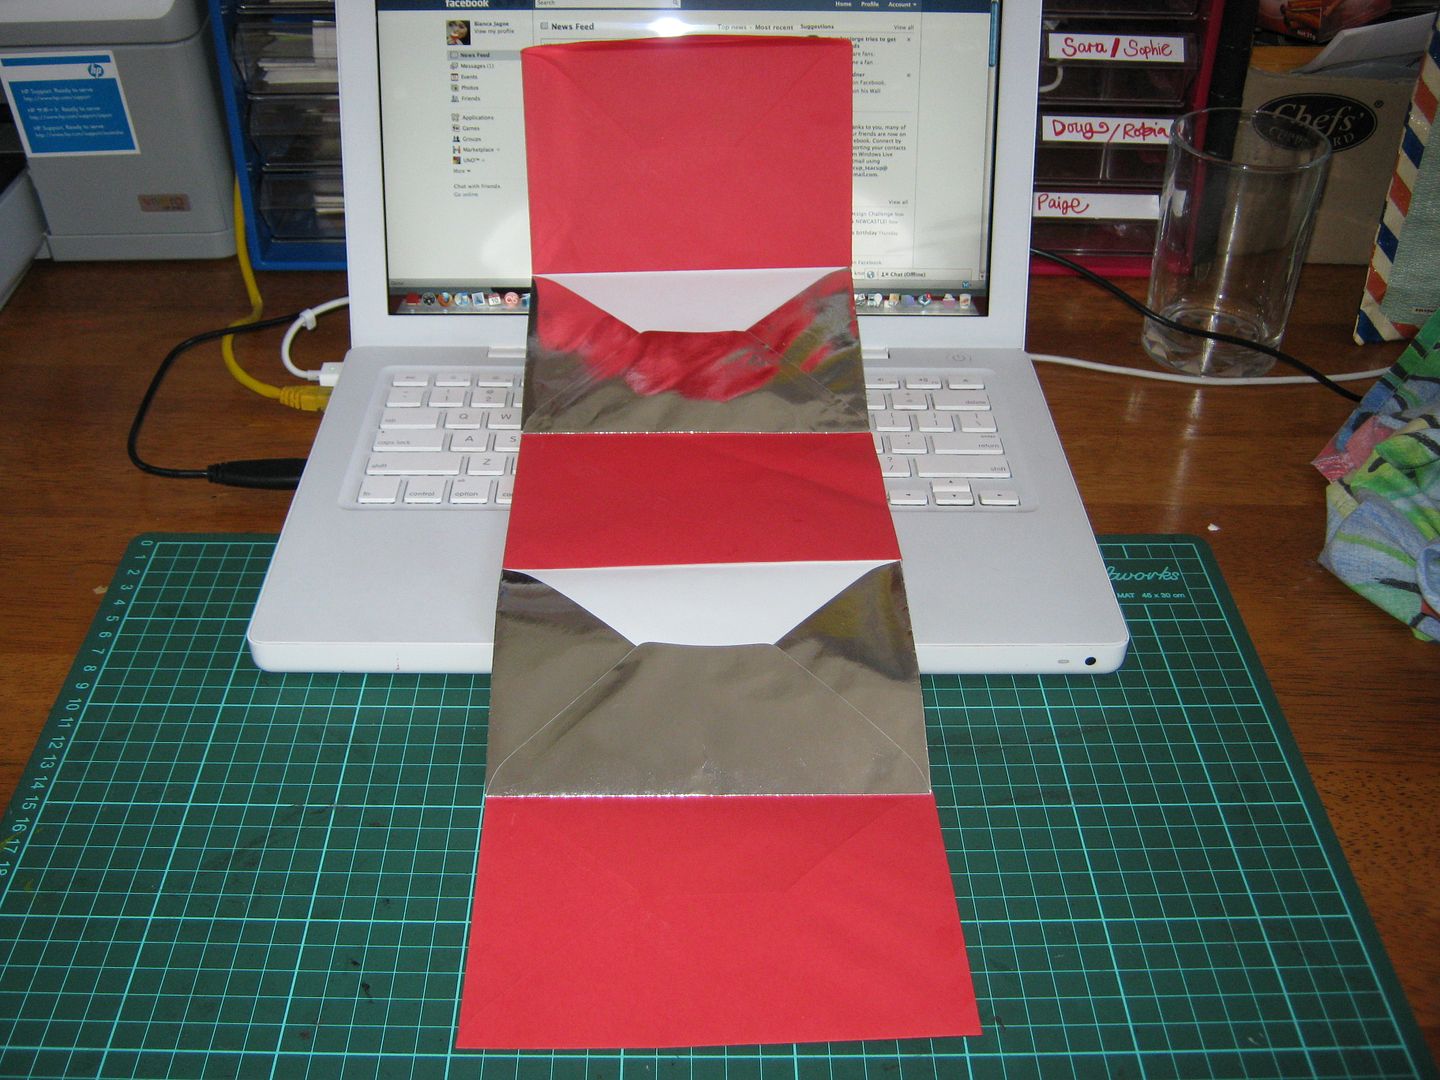
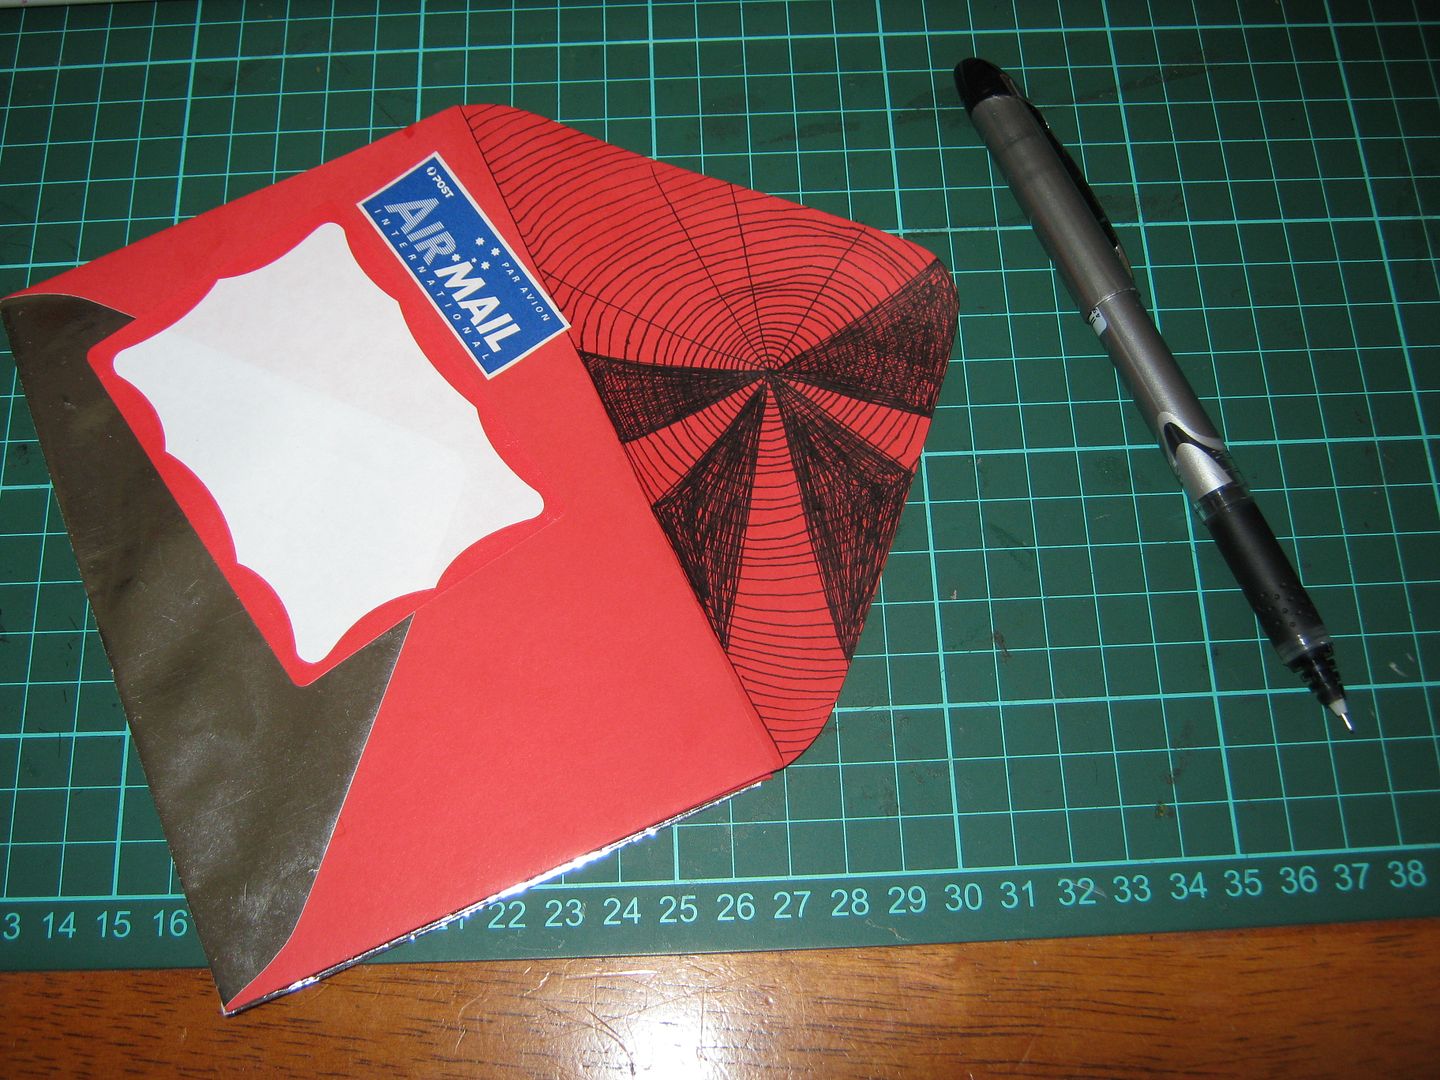
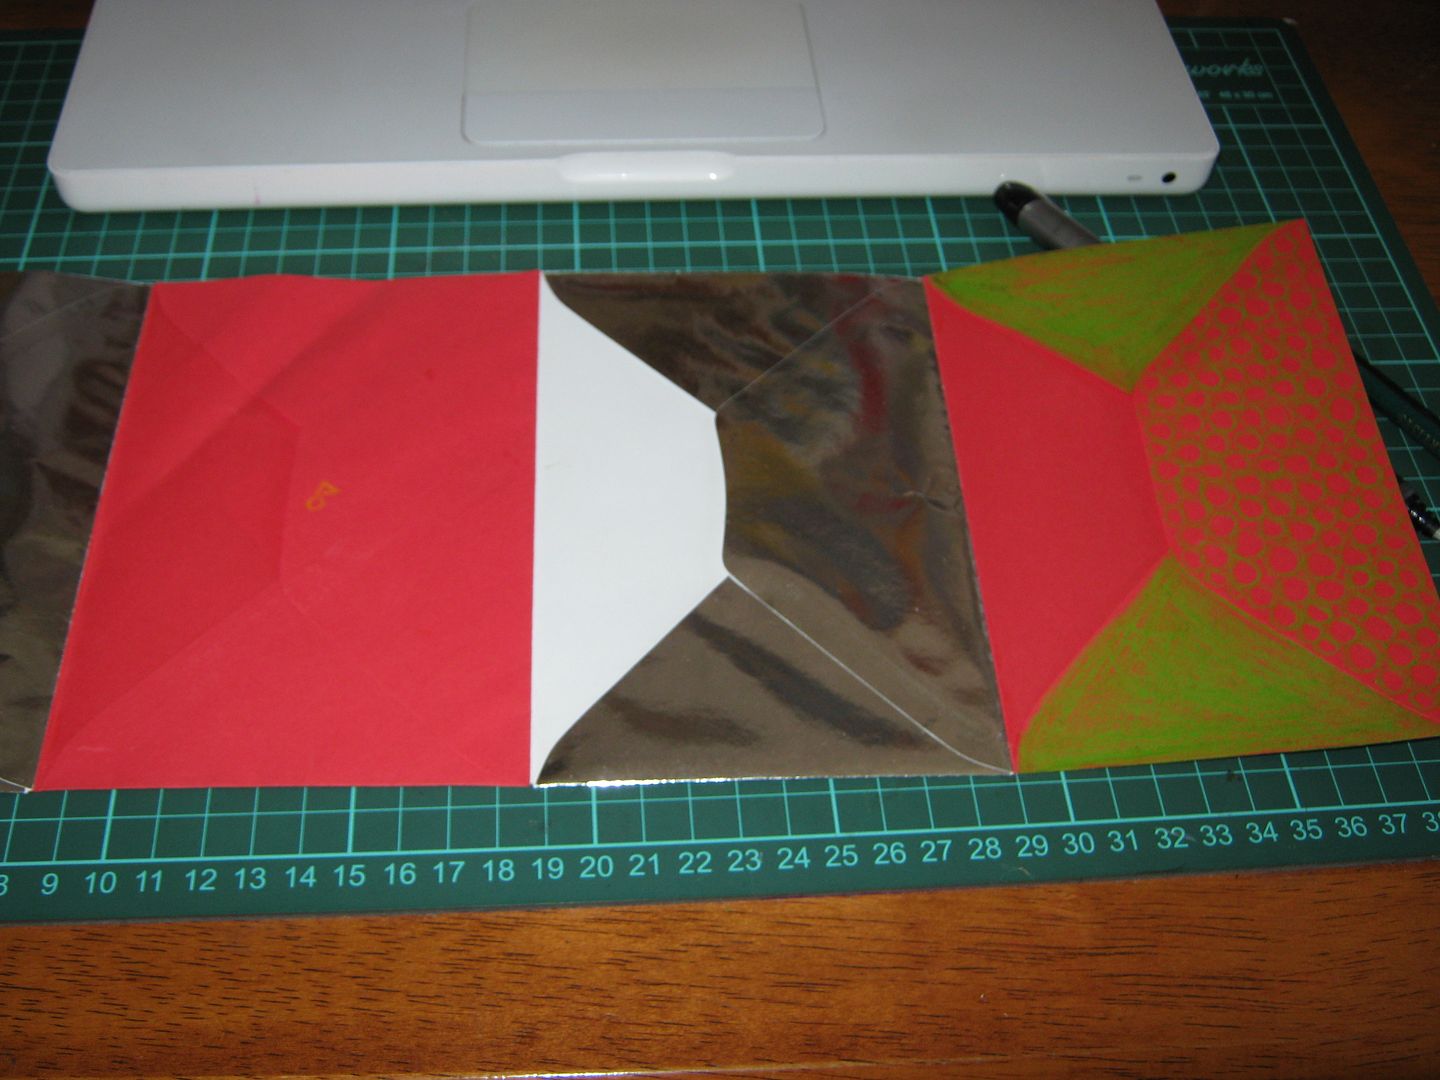
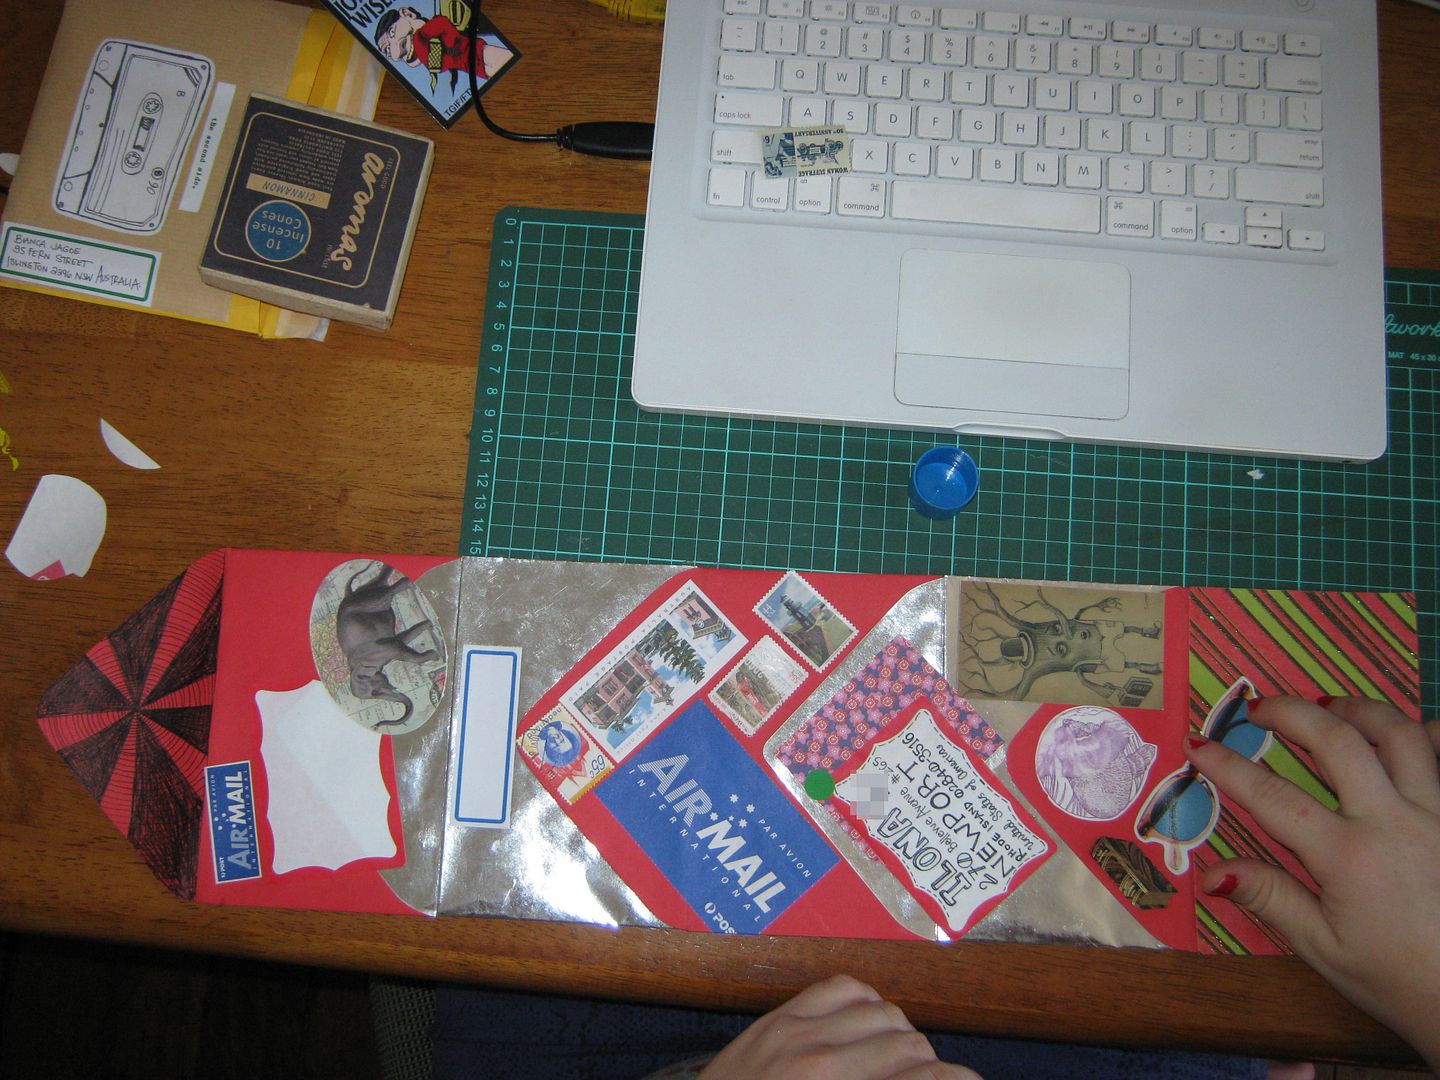
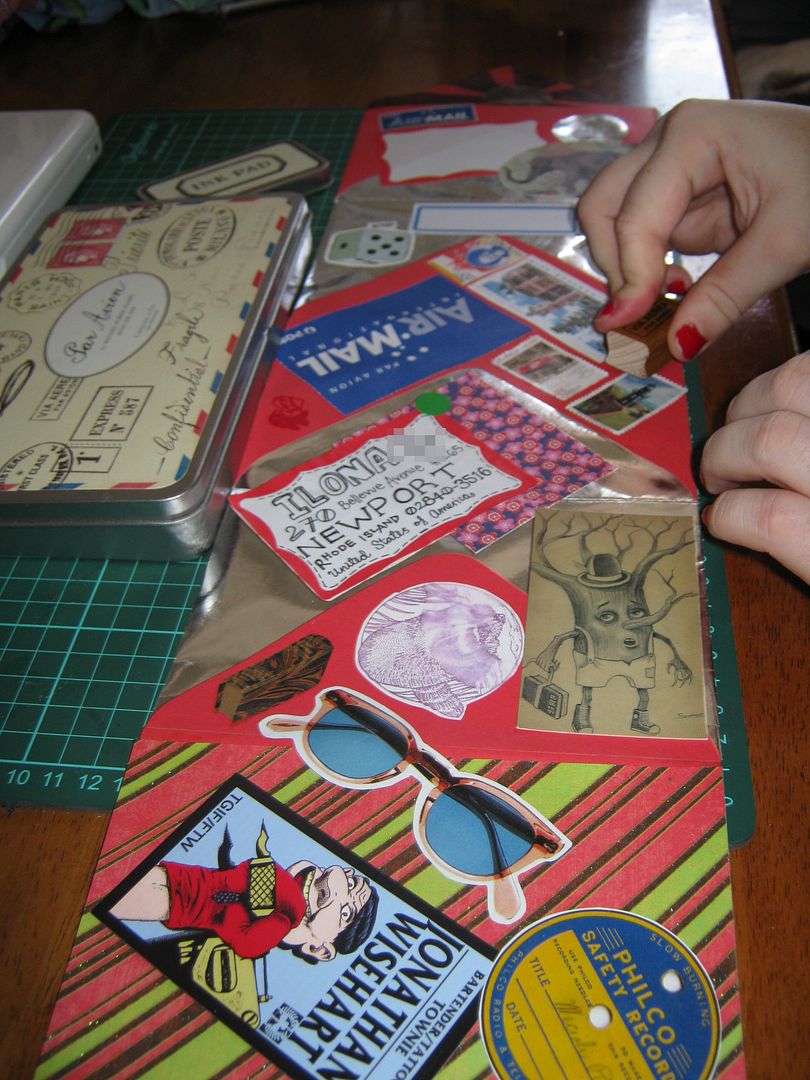
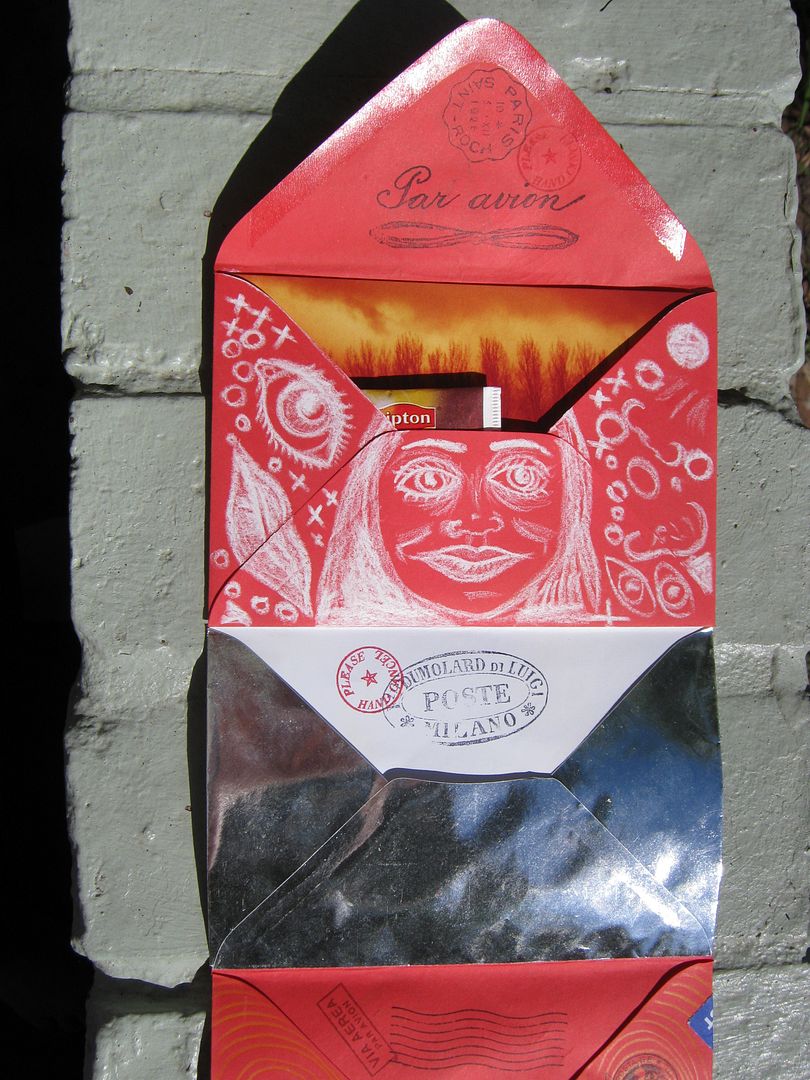
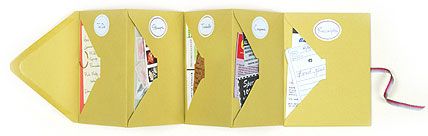 Loosely following Paper Source's '